Set up your Safe Food Pro Account
Getting Started: Simple steps to a successful setup
In this article:
- Add your Suppliers & Equipment
- Review and customise your Food Safety forms
- Set up Users & get your Staff on board
- Learn to monitor your Dashboard & Review Reports
This article goes through an overview of setting up Safe Food Pro. You can take 10 minutes on each step per day and get set up in a week, or you can be an overachiever and complete all of them in a couple of hours. So, it's up to you to decide how you want to proceed.
Watch our 5-minute quick start video, or dive into a more detailed tutorial. Safe Food Pro Deep Dive.
Safe Food Pro is designed to save time when managing your food safety every day. Most of our set up is creating digital copies of tasks or items that save your team time when completing food safety checks.
For Example:
- Instead of writing out the name of your fridge every day, create a digital equipment record. This automatically links with your digital temp-check forms.
- Instead of writing the name of your food item when doing Cooking Forms, create a digital list of pre-made food items that your team can select from.
- Instead of using a spreadsheet to show staff training, use Safe Food Pro to log your training in one place
Add your Suppliers & Equipment
Equipment and Suppliers link to your:
- Temperature Check forms - Equipment
- and Delivery Forms - Suppliers
- Add equipment to start taking your daily temperature checks. Once you've added your fridges, freezers & hot holding equipment they will automatically show in your Temperature Check form on the app, it's ready when you are.
- Head to the Equipment page from the navigation menu
- Click the Add Equipment button
- Only the fields with the asterisk * are mandatory
- Add suppliers like delivery companies and maintenance services. This lets you fill out delivery forms for tracking and easily contact suppliers directly from the app.
- Navigate to Suppliers
- Click the Green Add button
- Input their details
- SAVE
Review and Customise your Food Safety forms
Our forms are based the answers you provide when starting your account, so most are ready for your use. You may need to customise a few to suit your needs better.
Pro Tips:
- Log into the app to test the forms out first - get an understanding of the flow
- The cleaning forms do not reflect your needs by default. Add or remove questions from your cleaning checklist to match your needs.
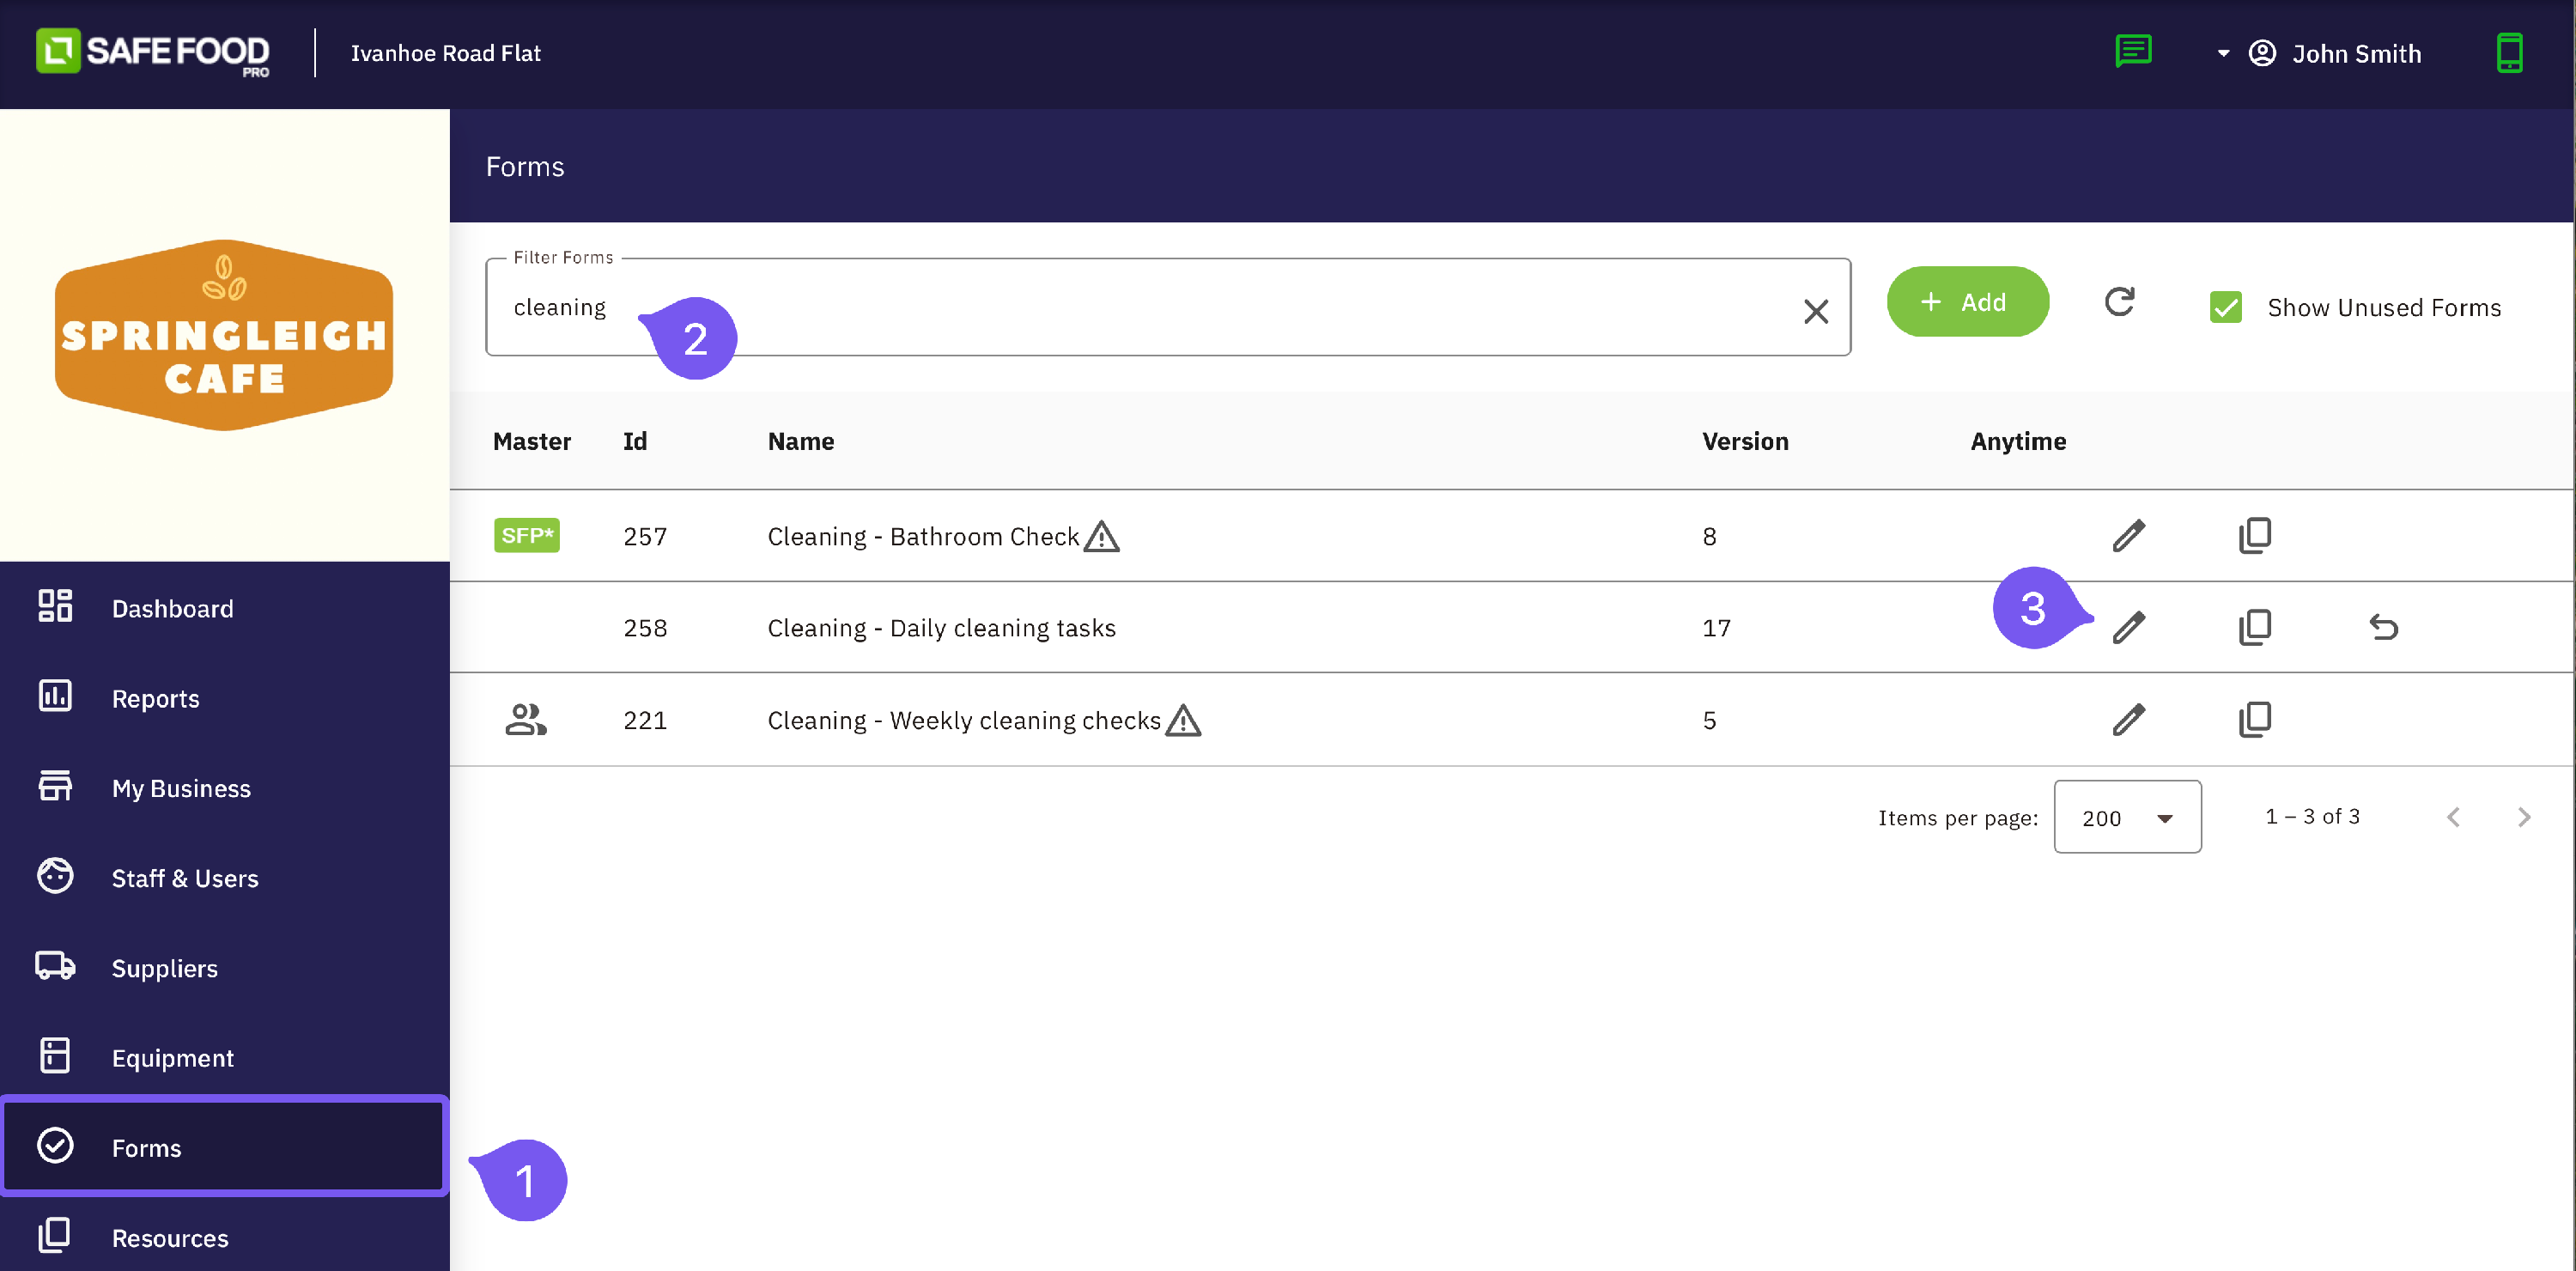
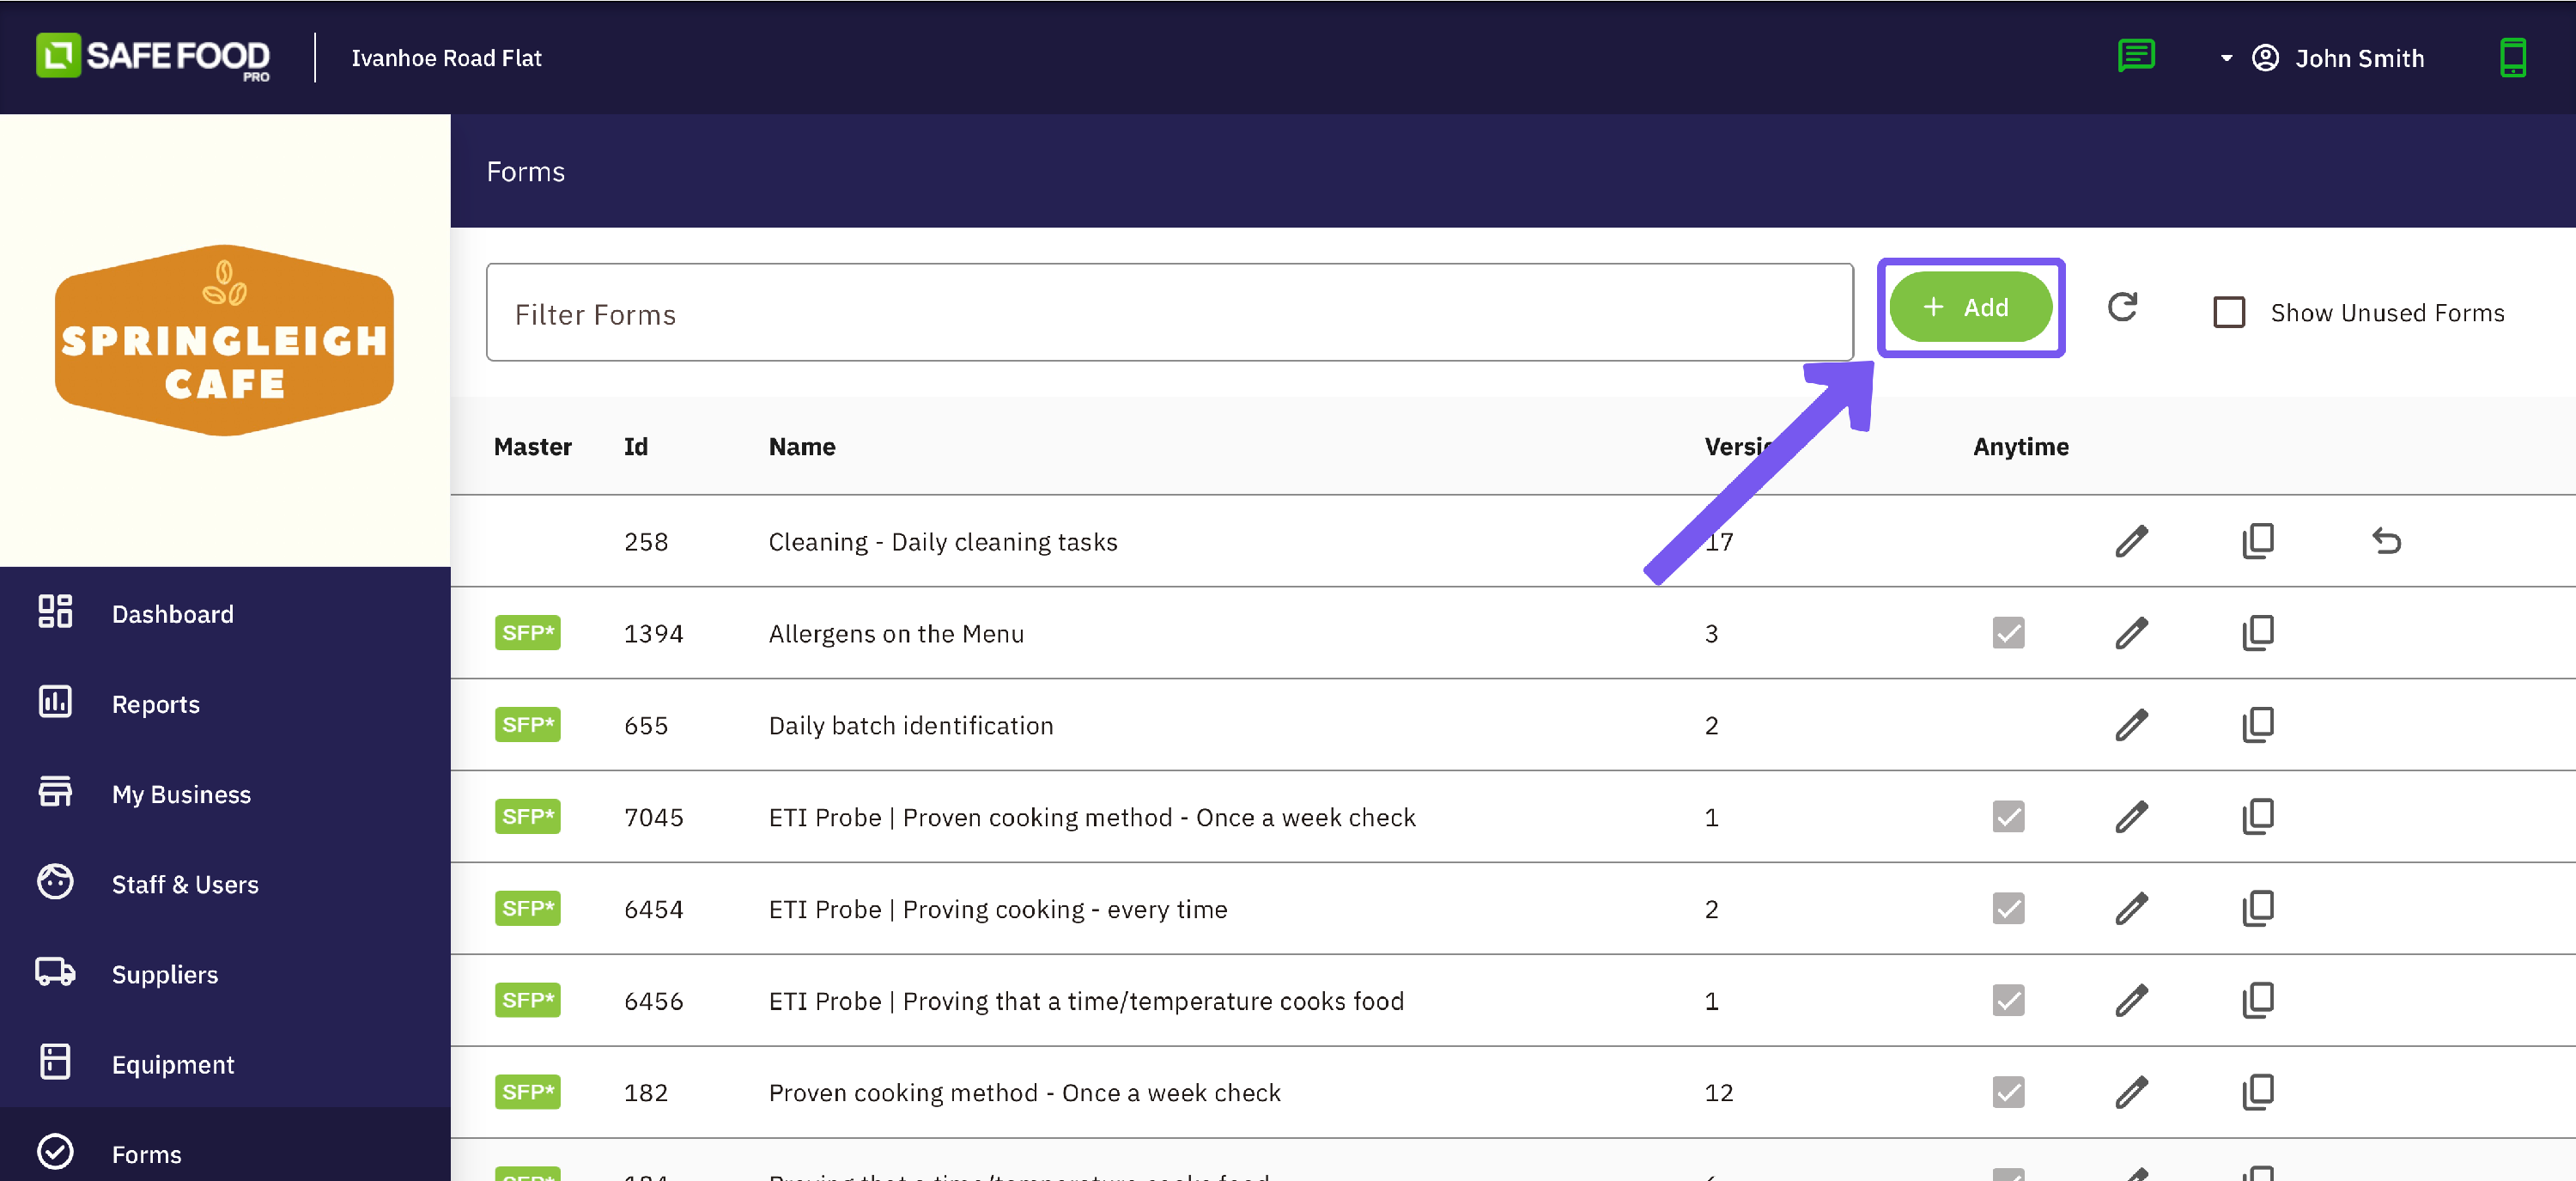
- Head to Forms
- In the search bar, type "cleaning"
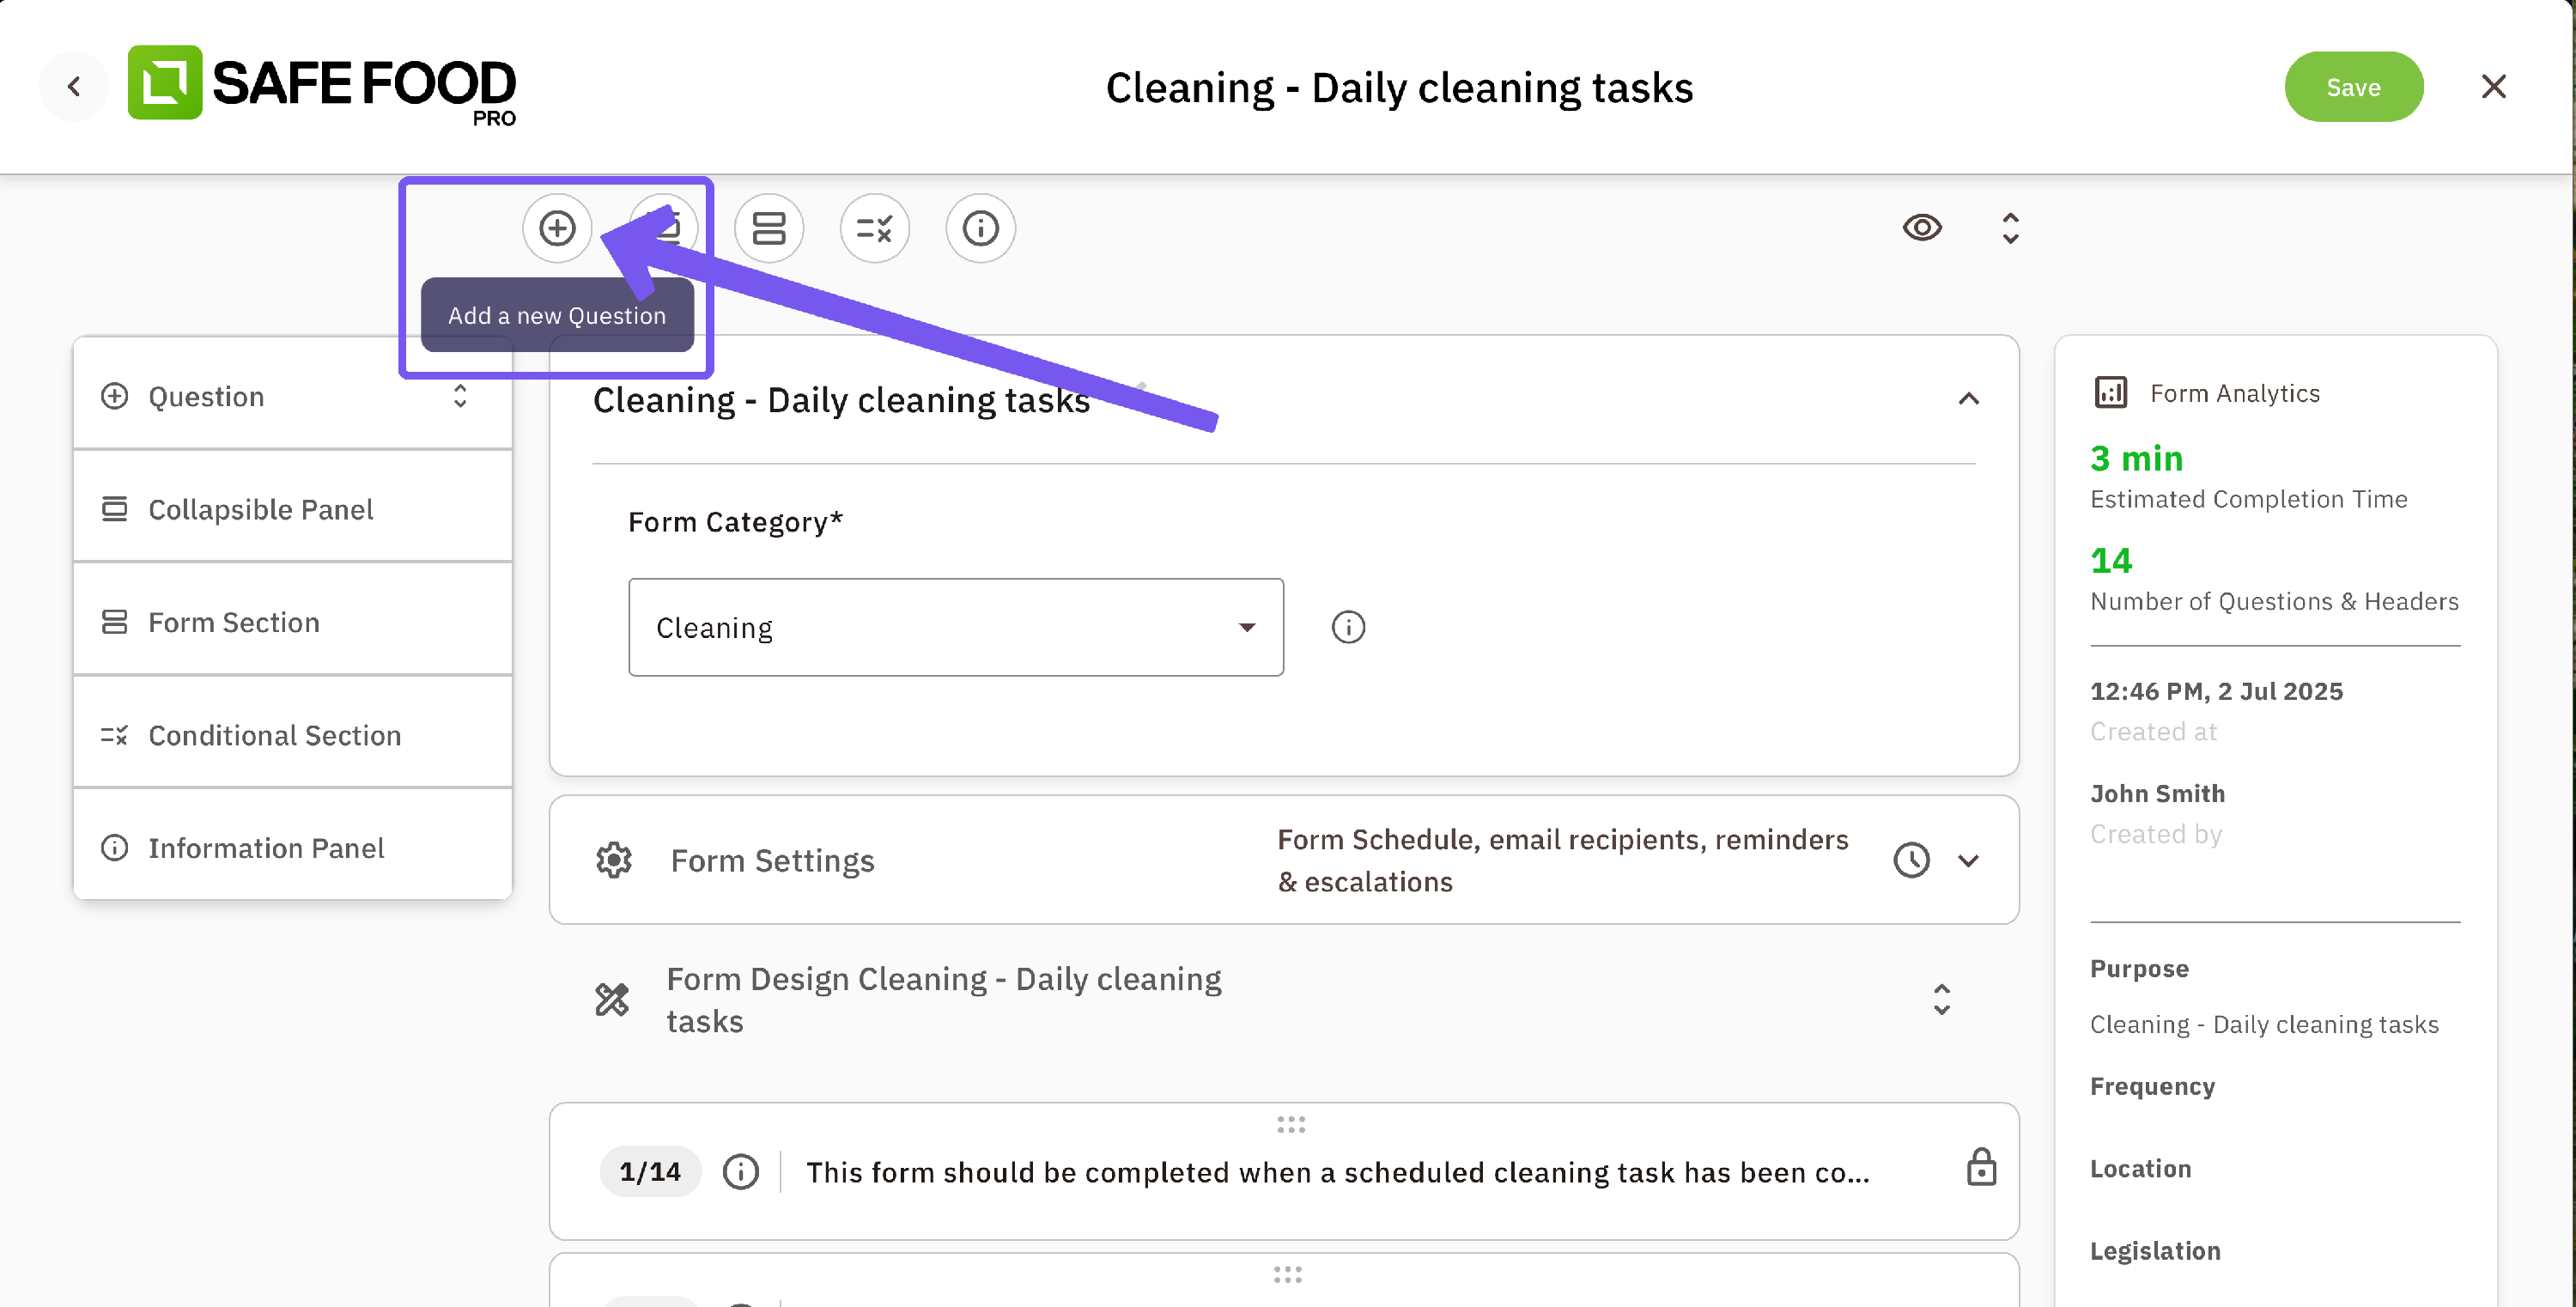
- Click the pencil icon to open the template
- Add or remove questions
To do this:
- Log into the Admin Console
- Go to Forms (from the navigation bar)
- Click the Pencil icon to edit any pre-existing forms schedule or content
- OR Click the Green "Add" icon to create your custom forms
To learn more about Forms, check out our resource on Mastering Form Building
Set up Users and Get your Team on board!
You can now begin setting up your staff since your account set-up is almost complete.
There are two ways in which your staff can interact with the app:
- Using a Generic Staff tablet
- Set up a Tablet User to sign in to the tablet, you can do this on the Staff and Users tab on the Admin Console. This will get you to set an email address and password to sign in to the tablet.
- Set your Staff up as Staff. Here you will set them up with a 4-digit PIN code, this is what your staff will use to complete forms on the already logged-in tablet (they won't need their login details this way).
- Using their Own Mobile Device - Your staff will need their email address and password to log in with.
To do this:
- Log into the Web Console
- Go to Staff & Users
- Click the Plus button to add a new user (then click the user icon)
- Add the Staff members' email address & password, then their first & last name
- SAVE
Train your staff on how to sign in and use the app to help them get started quickly - here is the article Setting up Staff in Safe Food Pro.
Learn to monitor your Dashboard & review reports
Let's check in and see how the team is progressing with completing their forms.
To do this:
- Log in to your Web Console
- Learn how to monitor Form Completion
- Learn how to view and export Reports
- Check out our Audit Checklist so you can be confident about what to do on your Audit day!
Next Steps:
Congrats on making it this far! To thank you for all of your hard work setting up, we've put in a couple of bonus tips & tricks.
- Set up User Notifications to stay on top of any maintenance due, troubleshooting forms completed, action alerts & more
- Message your team any news or updates using our Messaging tool
- Stay on top of Corrective Actions by using the Corrective Actions
- Save time on your Cooking/Cooling forms by creating a Food Items list
Finally don't forget to visit our Education Center, and Support Portal or reach out to our Support Team to help with any questions you may have!