A Full Guide for "Staff & Users"
This guide is designed to walk you through the essential first steps for getting your team set up in the system, configuring your devices, and managing how you receive important food safety alerts.
This article will cover:
- The difference between "Staff Records" and "Users"
- How to set up your team
- How to configure a shared "Generic" tablet for your kitchen
- How to manage your notifications
Part 1: Understanding Your Team: "Team Records" vs. "Users"
Before you add any people to your account, it's important to understand the two different ways Safe Food Pro manages your team:
What is a "Team Record"?
A Team Record is the central profile for every person in your business, whether they log into the app or not. A Team Record add them to your staff list, and allows them to complete forms in the app.
The Staff Record is where you store personal information and compliance details, such as:
- Full Name
- Contact Details (phone, email)
- 4 Digit PIN for form completion
- Completed Training History (which Safe Food Pro training forms have they completed?)
- Training Certificates & Expiry Dates
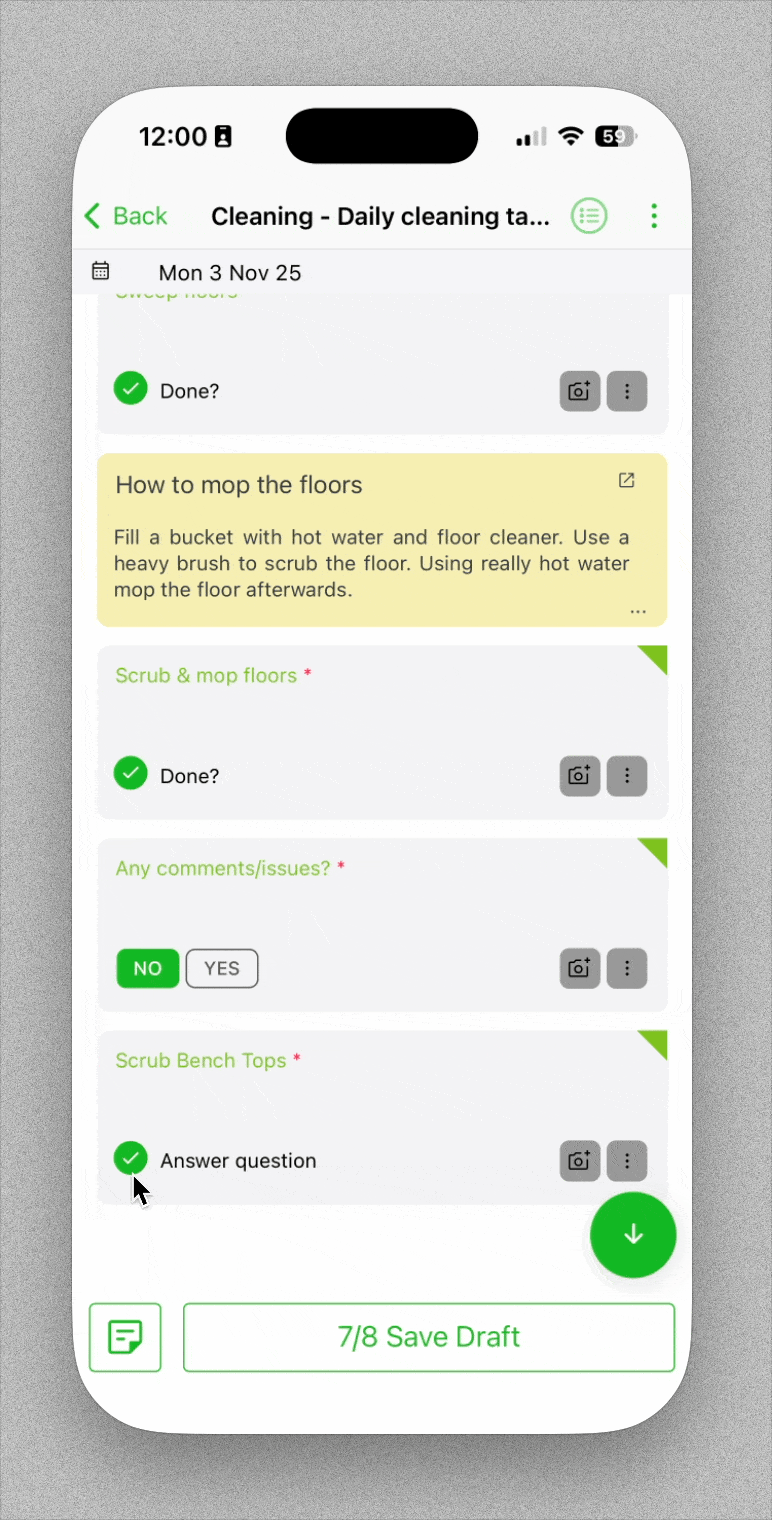
When completing any Food Safety form in Safe Food Pro, you will select from your "Team" list to determine who completed the form. Staff & Users are included in the list
What is a "User"?
A User is the login account that allows a person to access the Safe Food Pro app or web console using an email address.
The User requires:
- The login email and password.
- The User Role (e.g., Admin, Manager, Tablet), which determines their permissions and what they can see and do in the app.
Key Concept: Think of it this way: Every User (login account) must be linked to a Staff Record (profile), but not every Staff Record needs to be a User. You will create a Staff Record for all your kitchen hands, but you may only create a User account for your Head Chef and Manager.
Part 2: Setting Up Your Team
Here is the correct workflow for adding your team to the system.
Step 1: Create a Staff Record
First, create the profile for the team member.
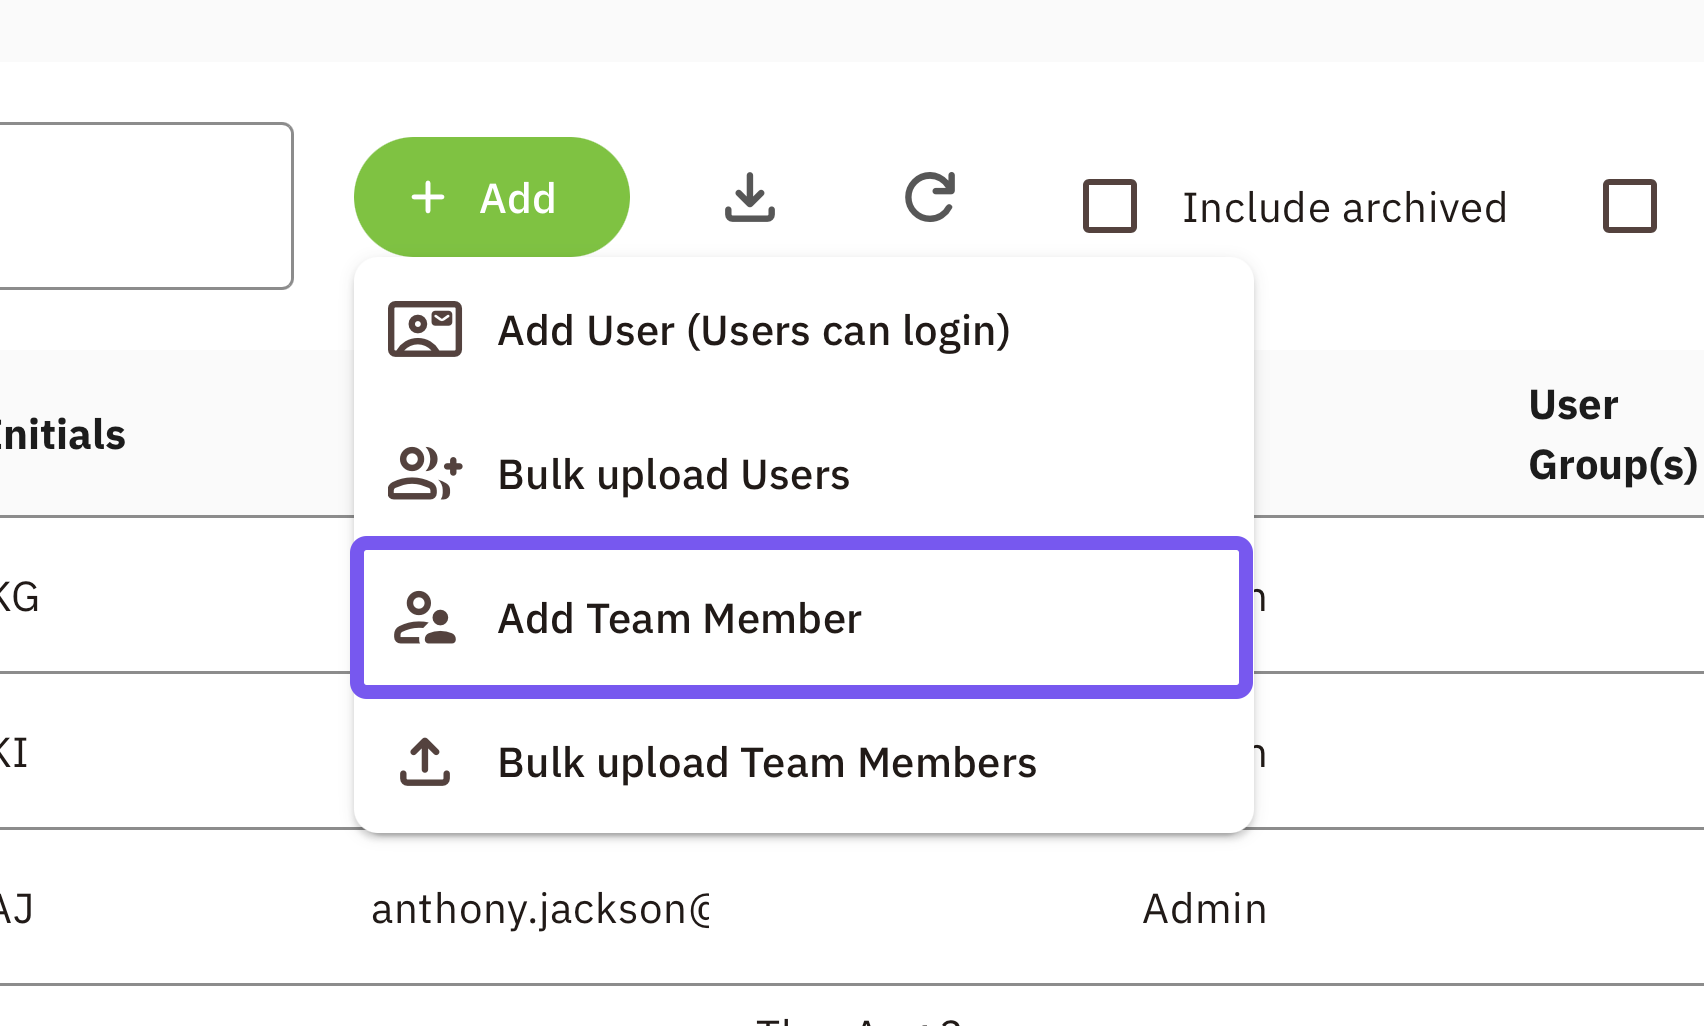
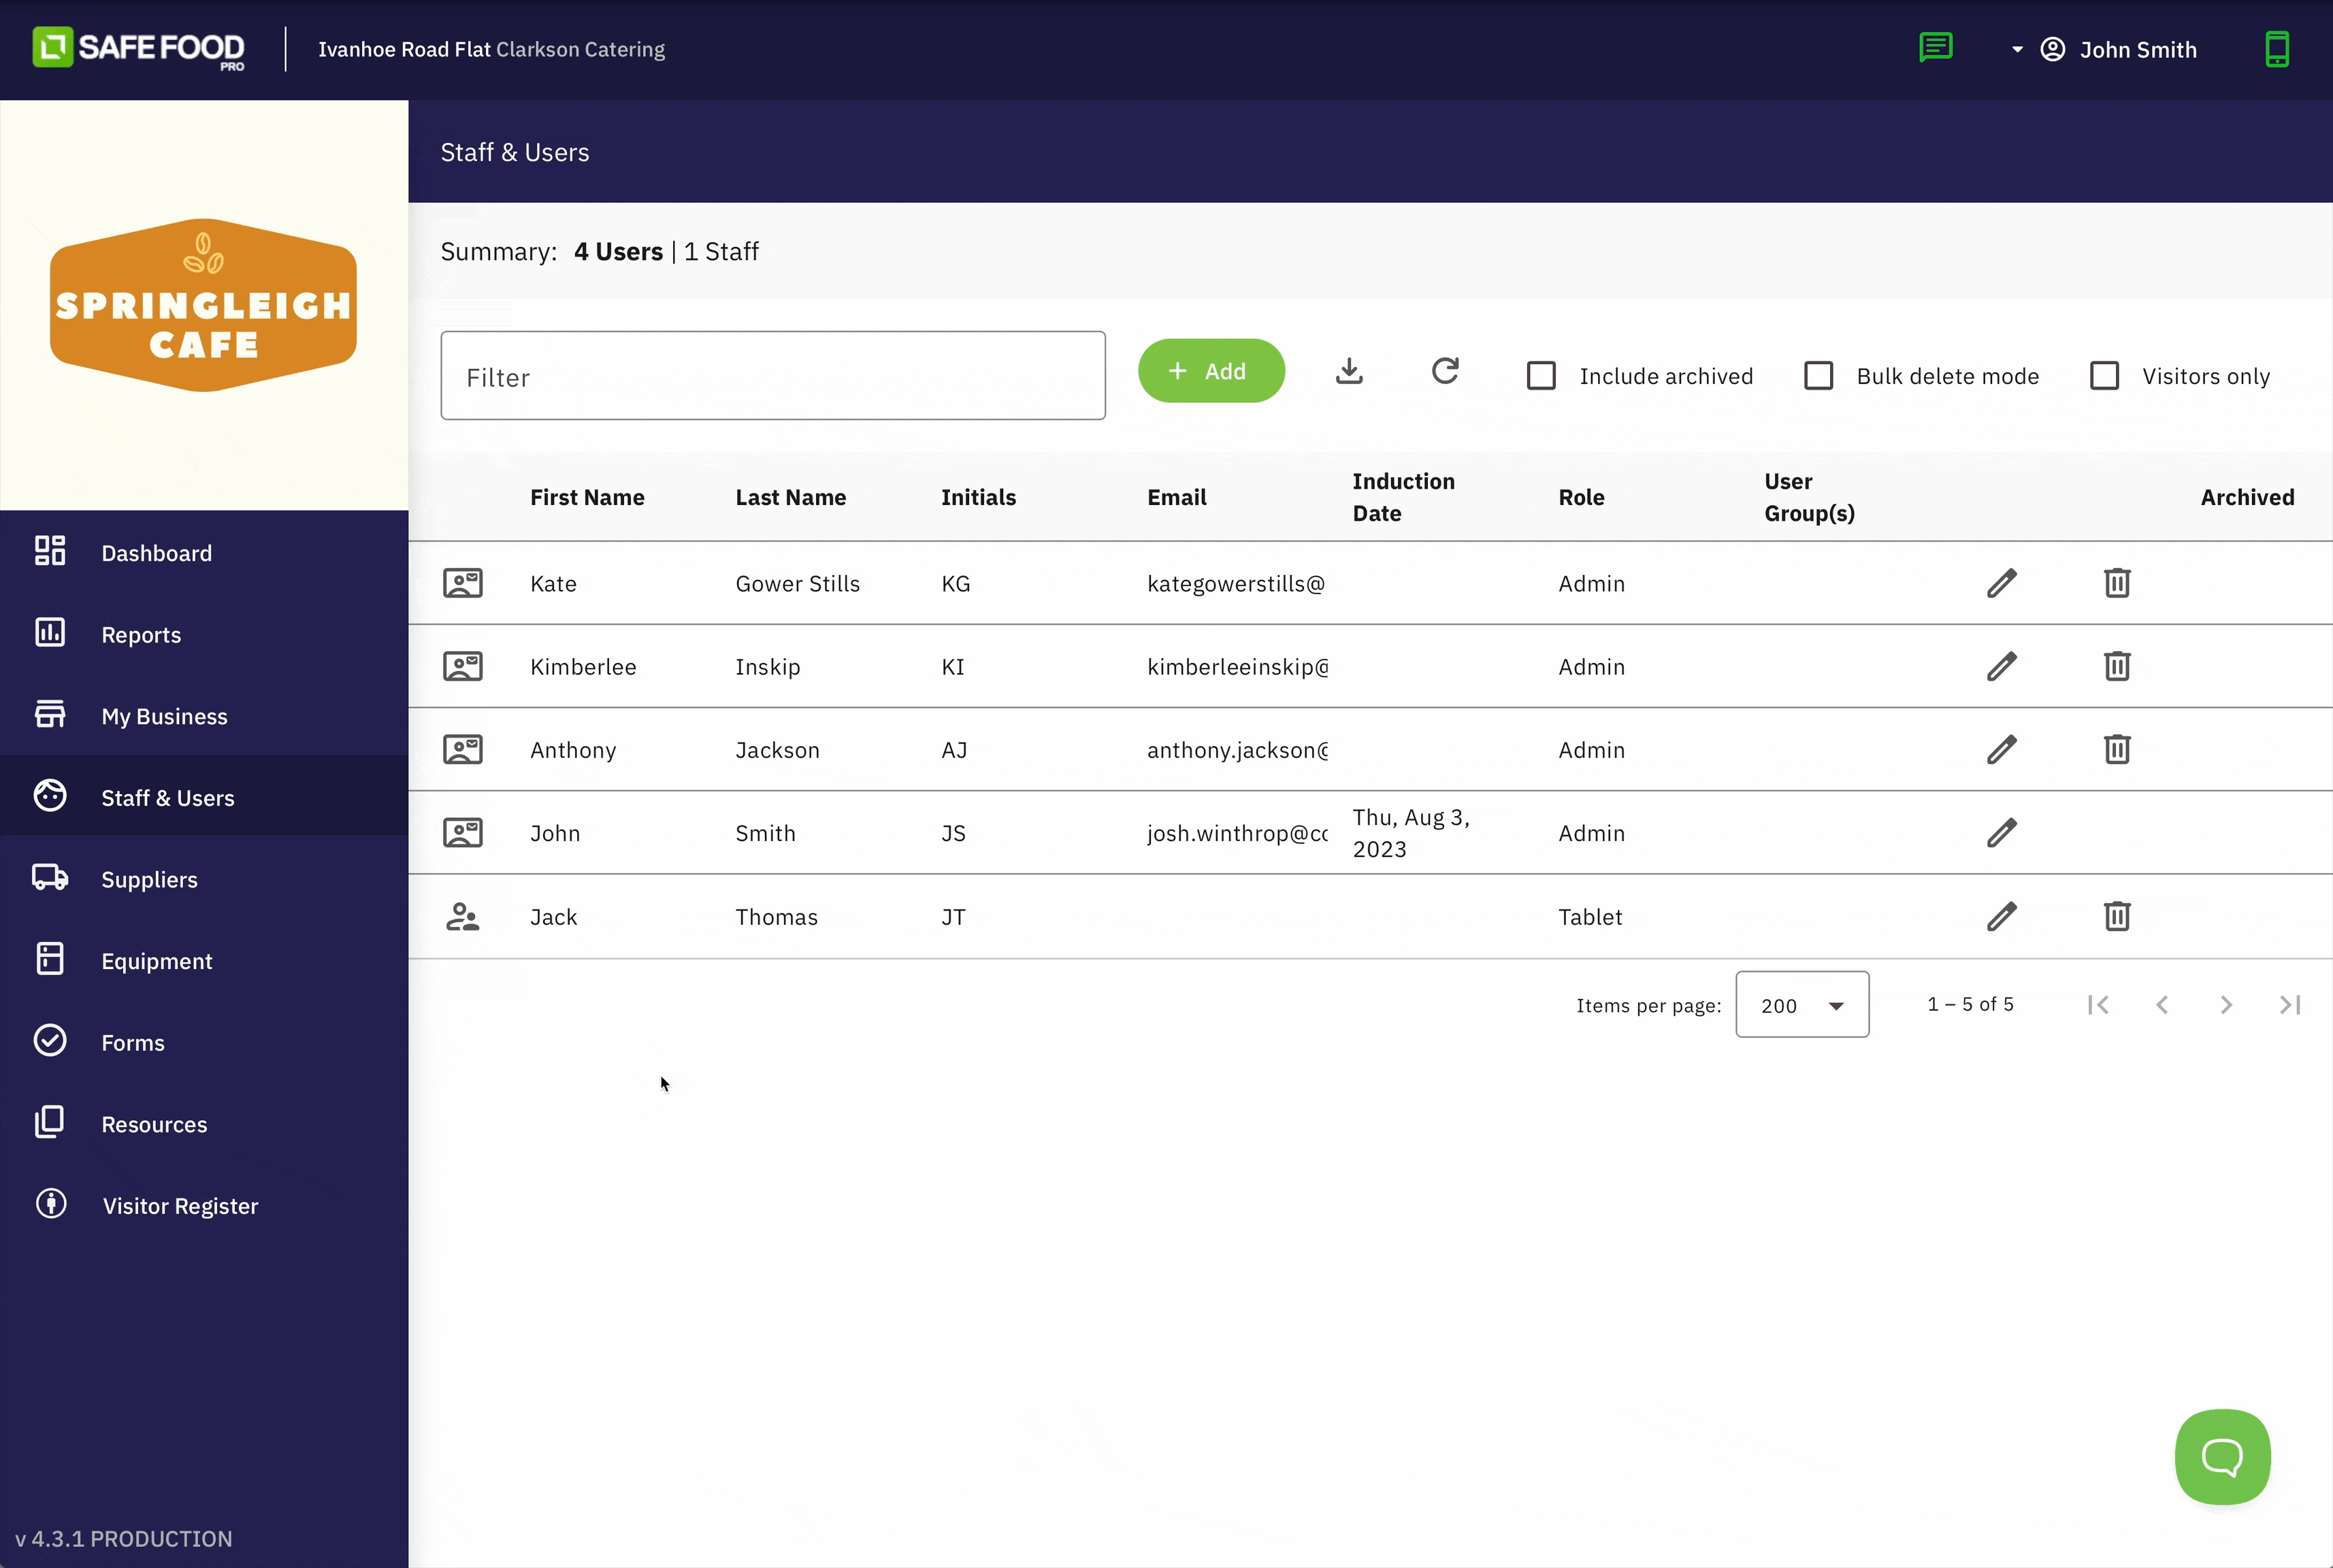
- Log into the Admin Console and navigate to Staff & Users
- Click Add
Click Add Team Member
- Fill in their personal details and a 4-digit PIN number
- This is also where you can go to the Training tab to upload their Food Safety Certificates and set expiry date reminders.
- Click Save.

Step 2: Create a User Account (for people who need to log in, like managers or owners)

If this staff member needs to log into the app to complete forms or manage the business, you must also create a User account for them.
- Navigate to Staff & Users.
- Click Add User.
- Enter the staff member's email address and password (this will be their username)
- Set their User Role (e.g., "Tablet" for team members, "Manager" for supervisors).
- In the "Staff Record" dropdown, link this User account to the Staff Record you created in Step 1.
- Click Save.
This will send an invitation to the staff member's email, prompting them to create a password for their new account.
User Roles determine whether they can log into the Admin Console or just the Mobile App.
Here's a quick guide:
- Admin - the most access | Admin Console & Mobile App access
- Manager - same as Admin, but can't access billing details
- Tablet - least access | Mobile App only, suitable for kitchen staff, or the generic tablet
- External Verifier | Admin Console access only, suitable for someone who needs to view your completed records
Part 3: How to Set Up a Shared "Generic" Tablet
Most kitchens don't want every staff member to log in and out of their personal device. The best practice is to set up a "Generic Tablet" user for your shared tablet, and add your team as Staff Records for form completion.
This keeps the app logged in and open all day, allowing staff to simply select their name from a list when completing forms.
How to Set It Up
- Create a User: Go to Staff & Users and create a new user.
- Email: Use a generic business email (e.g.,
kitchen.tablet@yourcafe.com). - Name: "Kitchen Tablet".
- User Role: Select the Tablet role.
- Email: Use a generic business email (e.g.,
- Log in on the Device: Take your shared kitchen tablet, download the Safe Food Pro app, and log in as this new "Kitchen Tablet" user.
Now, the tablet can be left in the kitchen. When a staff member needs to complete a temperature check, they simply pick up the tablet, open the form, and select their own name from the "staff" dropdown within the form.
Part 4: How to Configure Notifications
Notifications are essential for food safety, alerting you to critical issues like expired certificates or a failed temperature check.
There are two types of notifications:
- Push notifications | straight to that device, appearing as a Banner. Tapping it opens Safe Food Pro on that device.
- Email notifications | Routed directly to your User email. Suitable if you are not regularly using Safe Food Pro on your mobile device.
Administrator Controls (What alerts are sent)
As an Admin, you control what notifications are sent and who receives them.
- In the Admin Console, go to Staff & Users
- Click the pencil icon against an existing user (not team record)
- Scroll down to the Notifications tab.
- Here you will see a matrix of all notification types (e.g., "Certificate Expiry," "Corrective Action Assigned").
| Notification | Push | |
| Blue Notes (Alerts) | ✅ | ✅ |
| Completed Troubleshooting Forms | ✅ | ✅ |
| Temperature Sensor Reading Out of Bounds | ✅ | ✅ |
| Sensor Not Sending Readings | ✅ | ✅ |
| Temperature Probe Reading Out of Bounds | ✅ | ✅ |
| Equipment Maintenance Task Created | ✅ | ✅ |
| Certificate Expiry | ✅ | ✅ |
| Task Assigned to You | ✅ | ✅ |
| Corrective Action Status Update | ✅ | ❌ |
E.g. for your Admin login, you may want to configure the notifications for temperature checks, or Blue Notes so you are alerted of any issues.